Sunday, January 29, 2012

Banana Blueberry Bread

Banana Blueberry Bread
I had some very, very ripe bananas and some extra blueberry left over, so I was thinking of what to make with it.  Since the Chocolate, White Chocolate, & Banana Muffins, was such a hit at my house, I thought I would go ahead and make my favorite banana bread with the addition of blueberries!  Let me tell you, fresh out of the oven, is absolutely DELICOUS, but if you eat it the next day, just heat it up (maybe add some butter) and wow, it's still absolutely DELICIOUS.  Anyways, this recipe is amazing and you won't regret following it exactly!
Oh on a side note, the riper the bananas, the sweeter you bread will taste.  So take a few bananas, toss them in the fridge and forget about them for a while!  They might look pretty bad, but inside it's still good! Okay on with the recipe!


Ingredients for the Bread
Ingredients (makes one loaf):
non-stick baking spray
  • 2 cups all-purpose flour (I used whole wheat)
  • 1 tsp baking soda
  • 1/4 tsp salt
  • 1/2 cup butter
  • 1/2 tsp vanilla extract
  • 3/4 cup brown sugar
  • 1 eggs, beaten
  • 4 medium very ripe bananas (riper the better!)
  • 3 oz blueberries
  • 1/4 tsp cinnamon poweder (optional)

Instructions:
1. Preheat oven to 350 degrees.
2. Spray 9x5 inch loaf pan.
3. Mash the bananas so no large pieces remain. 
4. In a bowl, mix flour, baking soda, and salt. 
5. In another bowl, cream together melted butter, vanilla extract, and brown sugar.
6. Stir in beaten eggs and mashed bananas into wet ingredients (mixture 5). 
7. Stir banana mixture into flour mixture.  Stir to just moisten, do not over stir. 
8. Fold in blueberries.
9. Pour batter into prepared loaf pan. Top with cinnamon powder.
10. Bake for 60 to 65 minutes.  If you insert a toothpick, it should come out clean, indicating it is done. 
11. Cool for about 10 minutes before cutting.
12. ENJOY!

Saturday, January 28, 2012

Raspberry Lemon Bar

Raspberry Lemon Bar
Last weekend was a weekend filled with desserts! As I mentioned before, I love all things tart so this dessert was perfect for me! I loved the tangy bars along with the raspberries.  Now, if you want this dessert on the more sweeter side, just add a bit of sugar to the filling or add half the amount of lemon juice. On a side note, raspberries, along with blueberries are my FAVORITE berries.  They are so delicious, and yes I know it's not the season right now, but Safeway had a sale going on and so I stocked up on my favorite berries.

This recipe is from twopeasandtheirpod.com, and man they sure can throw down some mean desserts. Like all desserts at my house, this was again gone in just a couple of days.  I guess it helps having so many people in and out of my house and a mom with a pretty big sweet tooth! Alright already, let's get on with it!

Ingredients for the Bar
Ingredients (about 15 bars):
non-stick baking spray
1 1/2 cup graham cracker
6 tbsp salted butter, melted
1/4 cup sugar
1 lemon, zested
2 egg yolks
14 oz. can fat free sweetened condensed milk
1/2 cup fresh lemon juice (about 2 lemons)
1 tsp lemon zest
6 ounces fresh raspberries

Instructions:
1. Preheat over to 350 degrees.
2. Spray an 8x8 baking pan with non-stick spray.
3. Crush graham crackers (I used a blender, but a food processor or any such item would work).
4. Combine graham cracker crumbs, melted butter, sugar, and zest of one lemon until crumbs are evenly moistened.
5. Press graham cracker crumbs evenly onto the bottom of the baking pan creating the crust.
6. Bake for 10 minutes.  Remove from oven and let it cool to room temperature.
7. While the crust is cooling, mix egg yolks and condensed milk. 
8. Add lemon juice and one teaspoon of lemon zest.
9. Stir mixture until it starts to thicken a bit.
10. Fold in raspeberries, making sure to fold slowly so not to break the raspberries.
11. Pour the filling over the crust.

12. Bake for 15 minutes.
13. Cool to room temperature.  Chill in the refrigerator for a few hours before serving.
14. ENJOY!


Friday, January 27, 2012

Blackberry Cheesecake

 Blackberry Cheesecake
Do you love cheesecake, but hate the guilty feeling afterwards?  I know I LOVE cheesecake, but I always feel like I need to eat it while running on the treadmill! Well, with this recipe, guess what, you won't have to feel at all guilty! It's very light, and still SUPER delicious.  I got the original idea from Skinnytaste.com, but went ahead and put my own spin on it.  I made this last weekend, and believe me it was DEVOURED in just about one night.  And most of it by kids under the age of 7.  One thing to be aware of is, depending on what kind of preserves you use, it might turn out a bit on the tart side.  If you like it a bit on the sweeter side, try using strawberry preserves, or just adding a bit more sugar.  I loved it just how it was, but that's because I love all things tart! Alright enough with the typing, and on with the recipe!

Ingredients for Cheesecake
Ingredients (6-8 servings)
non-stick cooking/baking spray
1/2 cup crushed graham crackers 
1 tbsp light butter
8 oz package of reduced fat cream cheese (1/3 fat also works)
1/4 cup sugar
6 oz fat-free vanilla Greek yogurt (I used Chobani, but others work too)
2 egg whites
2 tbsp lemon juice (roughly half a lemon)
1/2 tsp vanilla extract
1 tbsp flour
1/4 cup seedless blackberry preserves (jelly or jam works as well)

Instructions:
1. Heat oven to 350 degrees.
2. Spray an 8x8 baking pan with non-stick spray.
3. Crush graham crackers (I used a blender, but a food processor or any such item would work).
4. Mix graham cracker crumbs and butter until crumbs are evenly moistened with the butter.
5. Press graham cracker crumbs evenly onto the bottom of the baking pan creating the crust.
Graham Cracker Crust
6. Gently beat together, with an electric mixer, the cream cheese, sugar, and vanilla until it's smooth.
7. Add the yogurt, egg whites, lemon juice, and flour just enough so that it's incorporated in.
8. Pour over graham cracker crust.
9. In a small bowl, stir preserves until liquidly. Drop by spoonfuls on top of the cheesecake filling.
10. Using a knife, make swirl pattern to create the marble effect.
11. Place in the over for about 30 minutes.  When taking it out and moving it around, the filling should not wiggle very much.
12. Cool to room temperature.  Chill in the refrigerator for a few hours before serving.
13. ENJOY!

Sunday, January 22, 2012

Garlic Mashed Potatoes

Garlic Mashed Potatoes
I love potatoes!  Baked, deep-fried, steamed, ANYTHING, almost as much as broccoli that is!  Mashed potatoes is always my go to comfort food.  I love having it on the side with anything. Chicken, beef, you name it.  It's really easy to make and taste fabulous, even reheated the next day.  I made this to accompany my Salisbury Steak in Mushroom Gravy recipe and let me tell you, it was amazing! They complimented each other very well.

I like my mashed potatoes on the more chunky side, so the next time I make this, I want to make sure and not mash it up all the way and calm down on the liquids.  However, if you like them all mashed up then go ahead!  Also, you can use almost any kind of potato for this recipe, red, yukon, whatever, as long as you cut them up equal sized and boil them long enough. Alright, on with the recipe!

Ingredients for Mashed Potatoes
Ingredients (3-4 servings):
2 lbs red potatoes (about 5-6)
6 garlic cloves
1/4 cup sour cream
1/4 cup vegetable or chicken broth
2 tbsp milk
1 tbsp butter
1/4 tsp salt (or more/less to taste)
1/8 tsp black pepper (or more/less to taste)
1/4 cup fresh cilantro

Instructions:
1. Peel potatoes and garlic. Cut potatoes into medium-small pieces.
Make sure and halve these potatoes!
2. In a large pot, place potatoes, garlic, and enough water to cover over high heat.
3. Bring water to boil and reduce heat after boiling.
4. After 15-20 minutes, check to see if you can easily pierce potatoes with a fork, if you can they are ready.
5. Drain out water and add sour cream, broth, milk, salt, pepper, and chopped cilantro directly to pot.
6. Mash up with a masher or in my case a fork (I do not own a masher). Place into serving bowl.
7. ENJOY!

Saturday, January 21, 2012

Salisbury Steak in Mushroom Gravy

Salisbury Steak in Mushroom Sauce
Being Desi has made me miss out on many of America's famous dishes, Salisbury Steak being one of them.  I have never actually had this before, but have heard of it many times before.  We had a huge snow storm this past week (huge for Seattle, that is) which gave me a tremendous amount of time to cook for my family.  It gave me the opportunity to try out a lot of different recipes (all of which will come your way!), and my mom a big break from the kitchen!

I found a great recipe on my FAVORITE blog, 
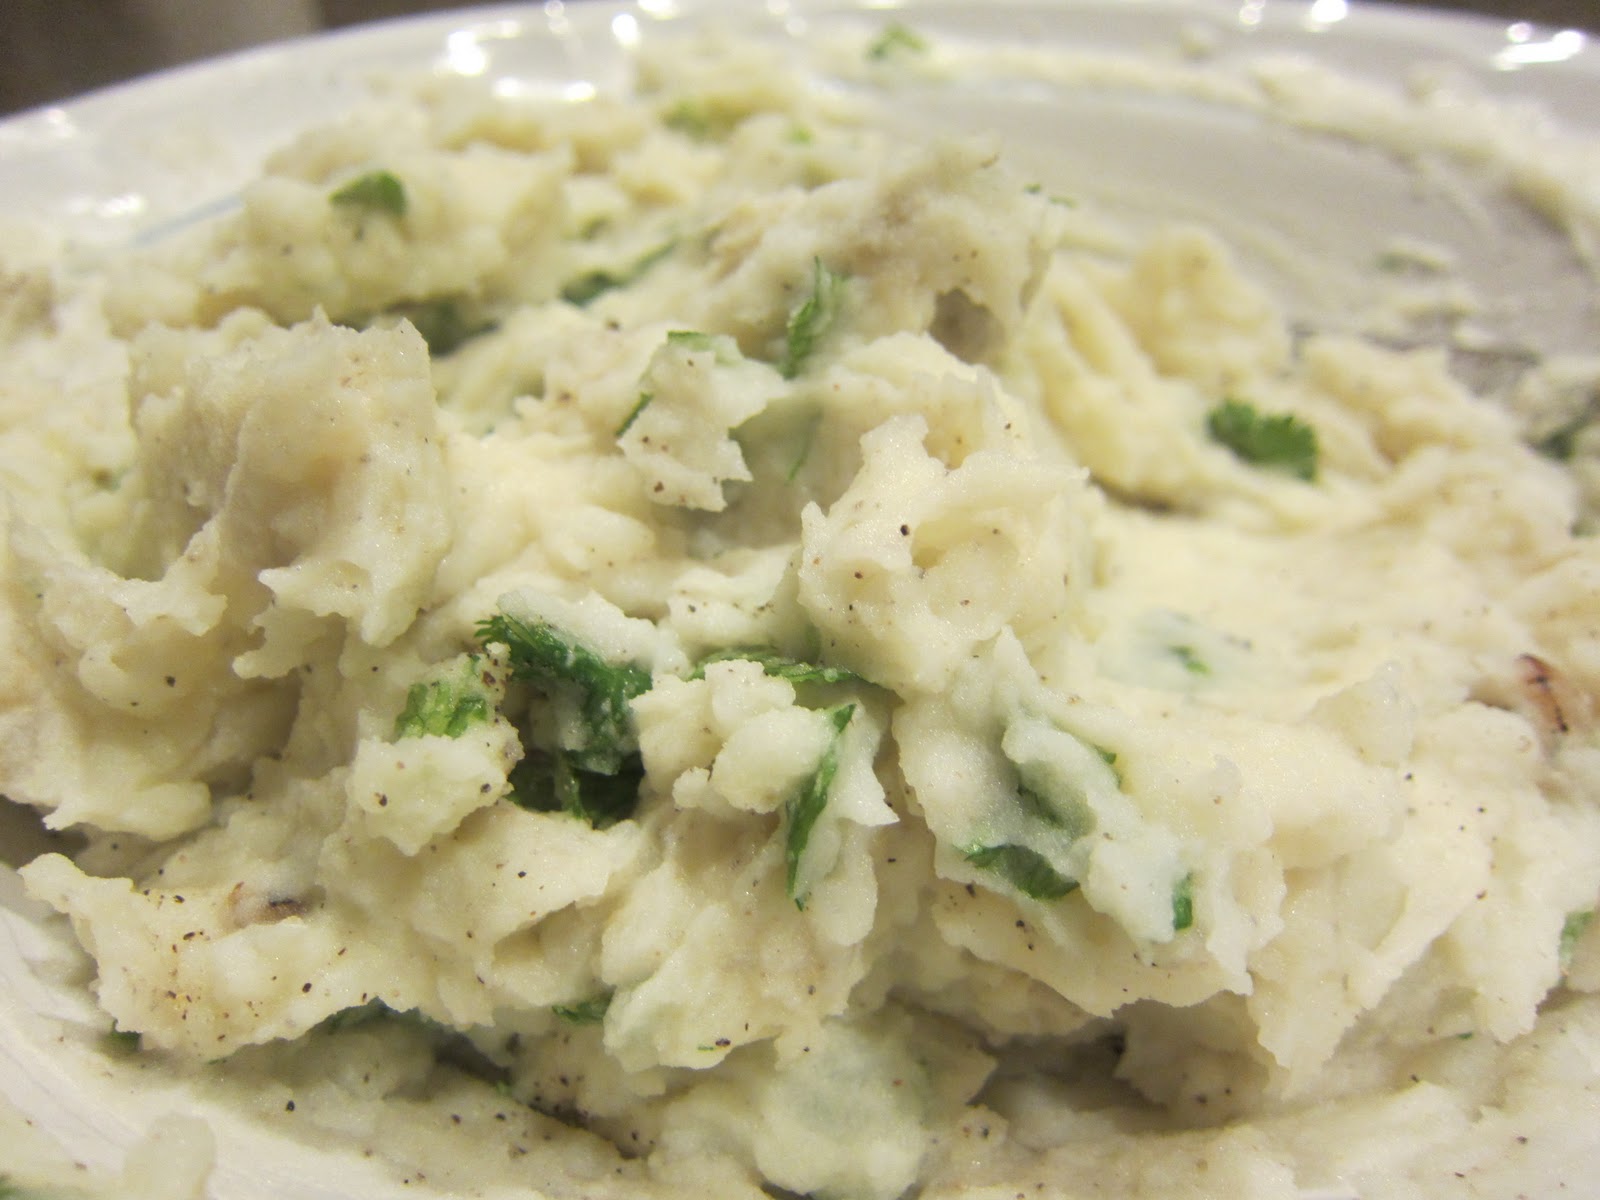
Skinnytaste.com, for Salisbury Steak and knew I had to try it. We also had a lot of ground beef (kurbani mangsho) from a friend of ours and had to use it somehow.  Anyways, my family LOVED this recipe and the leftovers were great the next day.  I also made some garlic mashed potatoes and cornbread to go with it, which I will blog about soon. Let's get on with the recipe!

Ingredients for Steak and Gravy
Ingredients (for about 8 patties):
1 1/2 tsp oil
1 cup onions, minced
1 cloves garlic, minced
2 lbs ground beef (or any kind of ground meat)
1/2 cup dry breadcrumbs
1 large egg
1 large egg white
2 cups beef, chicken, or vegetable broth (I used beef)
1/4 tsp salt
1/4 tsp ground black pepper
8 oz mushrooms (I bought sliced ones)
2 tbsp all-purpose flour
2 tbsp tomato paste
1 tsp balsamic vinegar
2 tsp Worcestershire sauce
1/2 tsp mustard powder
1/4 cup water

Instructions:
1. Saute onions and garlic in oil over medium-heat until they are golden brown.
2. Combine together half of the sauteed onions and garlic, ground beef, breadcrumbs, egg, egg white, 1/4 cup broth, salt, and pepper, in a medium bowl.  
3. Shape mixture from step 2 into about 8 oval patties.  
4. In a large skillet, brown patties over medium-high heat.  Set on a plate after the patties are browned.  
5. Add mushroom to the large skillet and cook over medium-high heat for about 2-3 minutes.  (No need to add more oil as the pan will be oily from cooking the patties.) Add salt and pepper to mushroom.
6. Add browned patties to the mushrooms in the large skillet. 
7. Mix rest of broth, flour, tomato paste, balsamic vinegar, Worcestershire sauce, mustard powder, and water in a small bowl (this is the gravy mixture). 
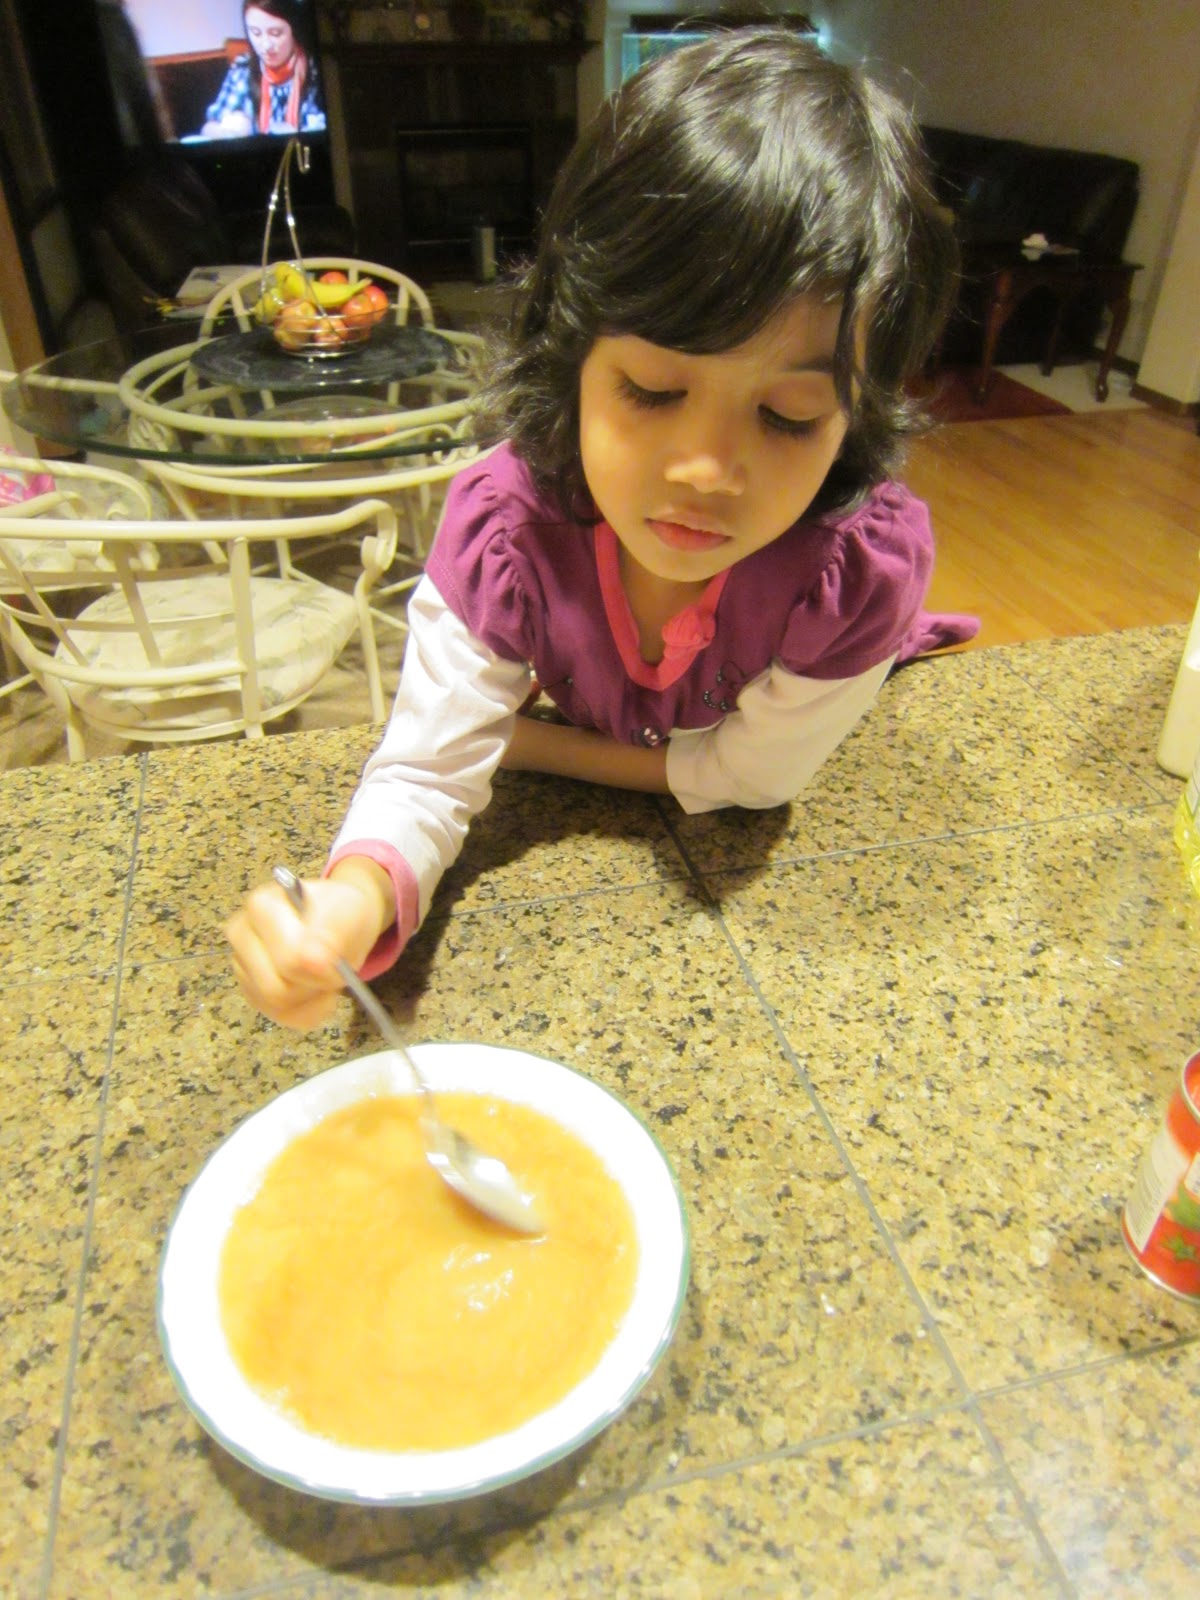
Sister helping me mix the gravy mixture!
8. Pour gravy mixture from step 7 into large skillet with browned patties and mushrooms. 
9. Cover large skillet and cook for about 20 minutes on low heat.  Make sure to stir occasionally.  Sauce should thicken slightly telling you that it is ready.
10. Serve over mashed potatoes or eat on it's own with a side of steamed veggies.
11. ENJOY!
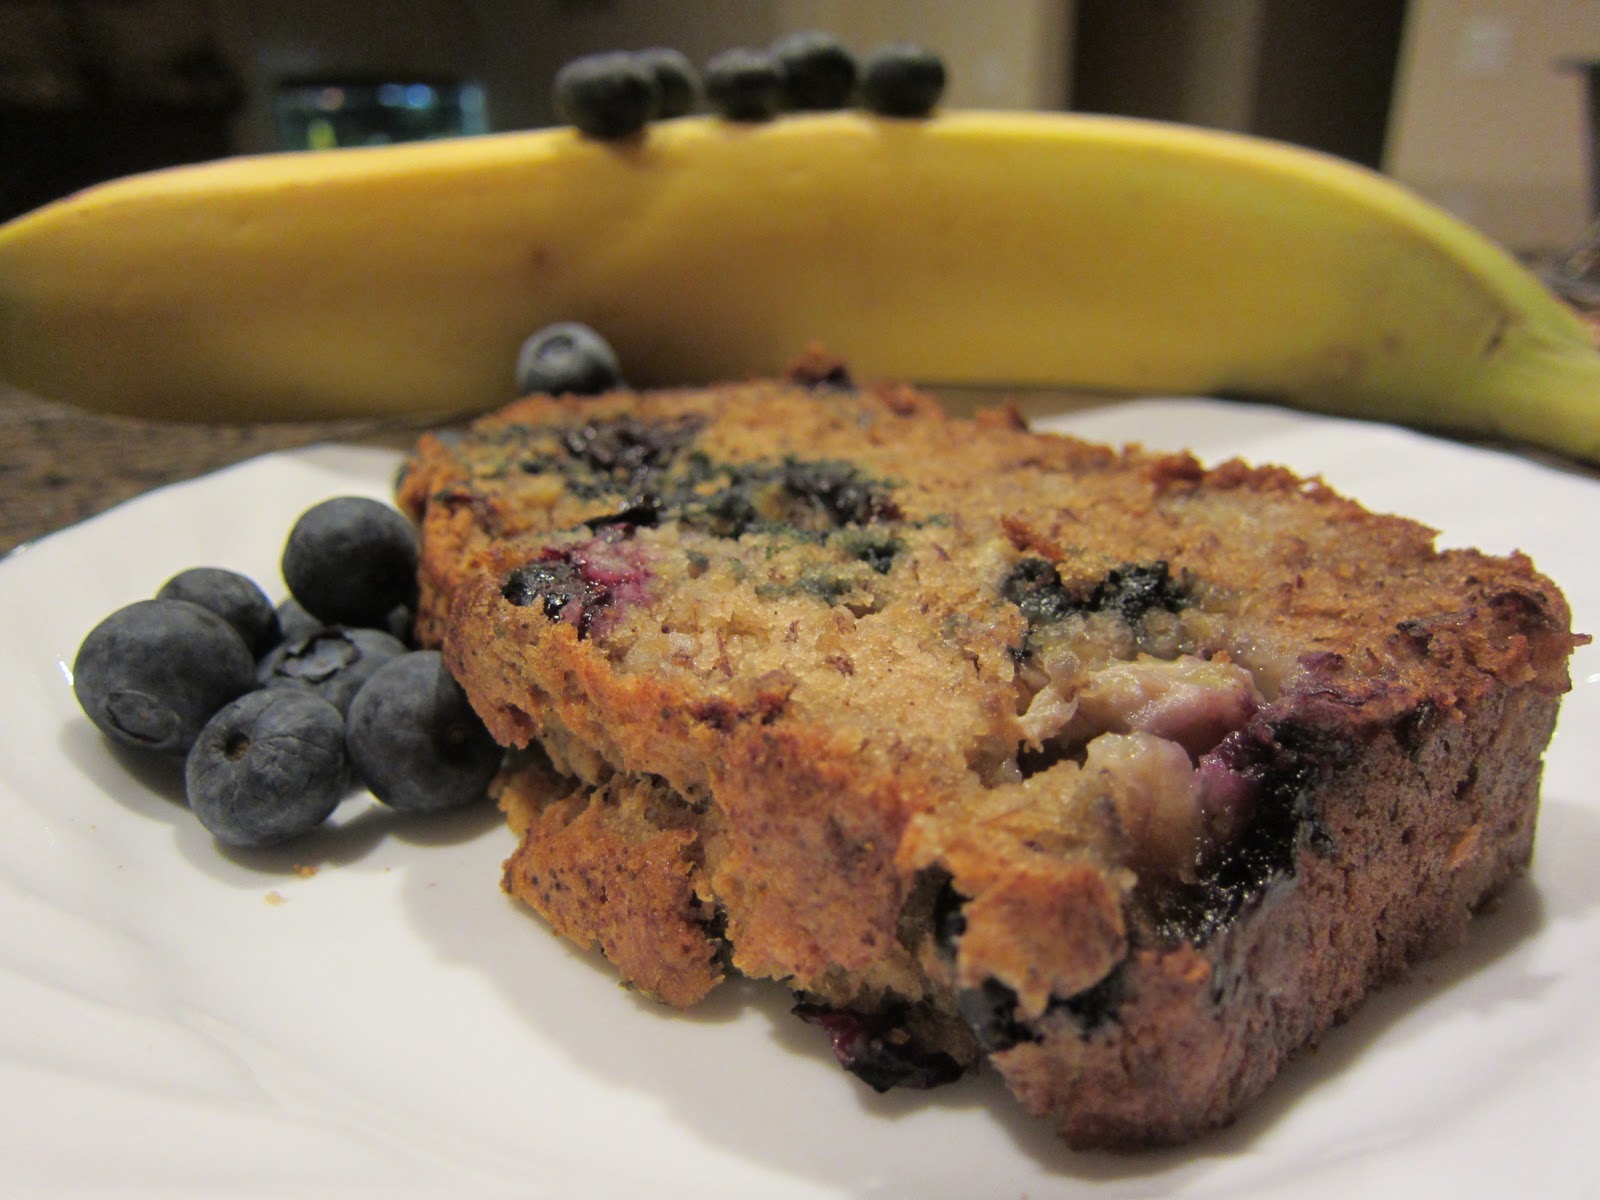
Salisbury Steak in Mushroom Gravy served over Garlic Mashed Potatoes

Chocolate, White Chocolate, & Banana Muffins

Chocolate, White Chocolate, & Banana Muffin
We had a ton of bananas at our house, and I was in the mood for some muffins as was my sister.  My family loves banana bread so I thought why not add in my favorite food: CHOCOLATE! I went around looking for the perfect recipe and came across a promising one.  After making it, I knew I had made the right choice.  Thanks to fortheloveofcooking, I was able to make a delicious muffin, that was pretty much gone in a couple days! FYI, I only had 3! Better hide some of these away in a secret place before they all run out!

Ingredients for the Muffin!
Ingredients (about 2 dozen muffins):
3 ripe bananas (the riper, the sweeter, the better!)
1/2 cup butter (1 stick)
3/4 cup brown sugar
1 tsp vanilla extract
2 eggs
2 cup flour
3/8 cup unsweetened cocoa powder
1 tsp baking soda
1/4 tsp salt
1 cup white chocolate chips

Instructions:
1. Preheat oven to 350 degrees.
2. Mash bananas in a medium bowl.
3. Combine wet ingredients, softened butter, brown sugar, vanilla extract, and eggs, in a medium bowl.
4. Whisk together dry ingredients, flour, cocoa powder, baking soda, and salt, in another medium bowl.
5. Slowly add mashed bananas to wet ingredients.
6. Slowly add dry ingredients to wet ingredients.
My sister, on the left whisking the dry ingredients & her friend on the right combining the wet ingredients.
7. After dry ingredients are combined well with the wet ingredients, add half of the white chocolate chips.
8. Pour batter into greased (I used non-stick spray) muffin pan about 3/4 way full. Batter will be slightly sticky and thick, but that is how it's suppose to be.  I need to get a new muffin pan, but I have these cute little heart-shaped cups that work perfectly!
9. Use the rest of the white chocolate chips to add about 5-6 of them on top of each muffin.
10. Place in oven for about 22-25 minutes. Let cool for about 5 minutes.
11. ENJOY!

Monday, January 16, 2012

Spiced Apple Cider

Spiced Apple Cider
It's been snowing for the past couple days here, and for this area, it's a HUGE deal.  We are not very used to seeing snow around here, and when we do see it, it's always such a fun experience.  After playing outside with my sister and building a snowman, we were pretty chilled to the bones.
Snowley, the snowman my sister and I made :)
I decided best way to warm us back up was with a drink! I am not a milk person, so hot chocolate was out for me, but we did have apple juice, so apple cider it was! This is a pretty delicious drink, and with some whipped cream, its AMAZING on a cold, snowy day!

Ingredients for Cider
Ingredients (about 2 servings):
2 1/2 cup apple cider or apple juice
1 cinnamon stick
3 cardamom
1 bay leaf
4 cloves
1/8 tsp cinnamon power (add more depending on personal taste)
whip cream (optional)

Instructions:
1. Pour apple cider or apple juice into small pot. Cook over medium-high heat. 
2. Add cinnamon stick, cardamom, bay leaf, cloves, and cinnamon powder to pot.
3. Wait for apple cider to boil. Turn off heat after it starts boiling.
4. Strain apple cider into cup with a tea strainer. 
5. ENJOY!
Taste even better with whip cream!

Saturday, January 14, 2012

Easy 10-minute Tortilla Pizza

Easy 10-minute Tortilla Pizza
It was Saturday afternoon, and my sister wanted pizza.  None of my family wanted any so getting a pizza delivered was out of the question, not to even start with the unhealthiness of a pizza! So I had to get creative and that's when I came up with this recipe.  It's super fast, light, and won't leave you feeling guilty about anything! You can customize it however you want, add another layer of tortilla to make the crust thicker, add any toppings of your liking, ANYTHING! This turned out pretty yummy and definitely will definitely go down as a go to lunch item! 

My sister helping me write down the quantities of each ingredient!
Ingredients for the Pizza!
Ingredients (for 1 tortilla pizza):
1 uncooked tortilla (using cooked is also fine)
1/8 cup tomato sauce (I used Prego, but any tomato sauce will do)
1 oz black olives (optional)
7-10 pieces of turkey pepperoni (optional)
1/8 cup mozzarella cheese 

Instructions:
1. Cook uncooked tortilla in a pan on stove top, medium-high, for about 4 minutes or until lightly brown.
2. Spread tomato sauce equally on top of tortilla.
3. Add toppings (in my case black olives and turkey pepperoni) evenly on top of sauce.
4. Cover entire tortilla evenly with cheese, I used 4 cheese Mexican blend because that was all I had in the fridge, but it would taste a lot better with mozzarella in my opinion.
5. Transfer tortilla to baking sheet.
6. Broil pizza on low for about 4-5 minutes or until cheese turns golden brown. 
Pizza in broiler
7. Let cool for about 2 minutes before cutting.
8. ENJOY!